
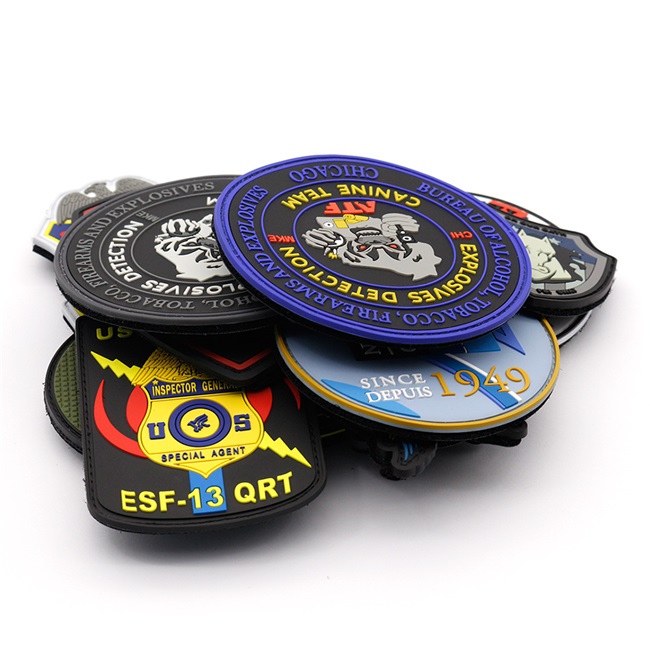
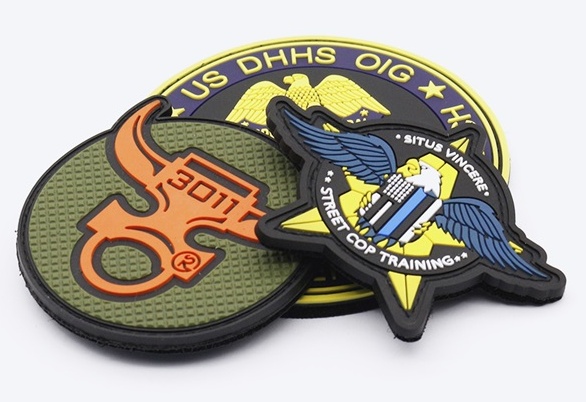
Rubber logo patches are a popular way to customize your clothing, accessories, or gear. They are made of soft, flexible, and durable material that can withstand harsh weather and wear and tear. Rubber logo patches can also be molded to any shape and dyed to any color, making them ideal for expressing your unique style and brand identity.
In this article, we will show you how to make your own rubber logo patch in a few simple steps. You will need:
· A design for your logo
· A mold for your patch
· Rubber material (also known as PVC)
· A heat press or an iron
· A backing for your patch (such as Velcro, adhesive, or sewing channel)
The first step is to create a design for your logo. You can use any software or tool that you are comfortable with, such as Photoshop, Illustrator, or Canva. You can also draw your design by hand and scan it into a digital file.
The design should be clear, simple, and high-resolution. You can use up to 9 colors in your design, depending on the complexity and style of your logo. You can also choose between a 2D or a 3D effect for your patch. A 2D patch will have a flat surface with different colors and textures, while a 3D patch will have a sculpted surface with raised and recessed areas.
The next step is to make a mold for your patch. A mold is a metal or plastic frame that shapes the rubber material into your desired form. You can either make your own mold using a CNC machine or a 3D printer, or you can order a custom mold from a professional manufacturer.
The mold should match the size and shape of your design exactly. The mold should also have holes or channels for the rubber material to flow through and fill the mold cavity. The mold should be smooth and clean to avoid any defects or bubbles in the final product.
The third step is to prepare your rubber material. Rubber material is also known as PVC (polyvinyl chloride), which is a type of plastic that can be melted and molded into different shapes. PVC comes in different colors and forms, such as pellets, sheets, or rolls.
To prepare your rubber material, you need to cut it into small pieces that can fit into the mold cavity. You can use scissors or a knife to cut the material, or you can use a shredder or a grinder to make it finer. You should also sort the material by color and place it in separate containers.
The fourth step is to heat and press your patch. This is the most important step that determines the quality and appearance of your patch. You need to use a heat press or an iron to melt the rubber material and press it into the mold.
To do this, you need to:
· Place the mold on a flat surface
· Fill the mold cavity with the rubber material according to your design
· Cover the mold with a piece of parchment paper or silicone sheet
· Place the heat press or iron on top of the mold and apply pressure
· Set the temperature and time according to the thickness and type of your material
· Wait until the material is fully melted and fused
· Remove the heat press or iron and let the patch cool down
· Peel off the parchment paper or silicone sheet
· Pop out the patch from the mold
The final step is to add your backing to your patch. A backing is a layer of material that attaches your patch to your clothing, accessory, or gear. There are different types of backing that you can choose from, such as:
· Velcro: This is a hook-and-loop system that allows you to attach and detach your patch easily. You need to add Velcro hook backing to your patch and Velcro loop backing to your item.
· Adhesive: This is a sticky substance that bonds your patch permanently to your item. You need to peel off the protective cover from the adhesive backing and stick it to your item.
· Sewing channel: This is a groove along the border of your patch that allows you to sew it onto your item. You need to use a needle and thread or a sewing machine to stitch along the channel.
And that’s it! You have successfully made your own rubber logo patch!
If you want to make high-quality custom PVC patches without hassle, you should choose Erichgift as your partner. Erichgift is a PVC patch customization company that offers:
· Professional design service: We have a team of experienced designers who can help you create stunning logos and patches for any occasion.
· Fast turnaround time: We can deliver your patches within 2-5 weeks from order placement.
· Competitive pricing: We offer affordable prices for any quantity of patches, starting from $2.27 each for 200 patches.
· Free shipping: We offer free shipping worldwide for orders over $100.
· Satisfaction guarantee: We guarantee that you will love our patches or we will refund or replace them for free.
Erichgift is more than just a PVC patch maker. We are also experts in creating other types of custom products, such as pins, coins, keychains, medals, lanyards, stickers, labels, magnets, and more. Whatever you need, we can make it happen!
To order your custom PVC patches from Erichgift, simply visit our website at and fill out our online form. You can also contact us by phone or email if you have any questions or special requests.